Scan Documents
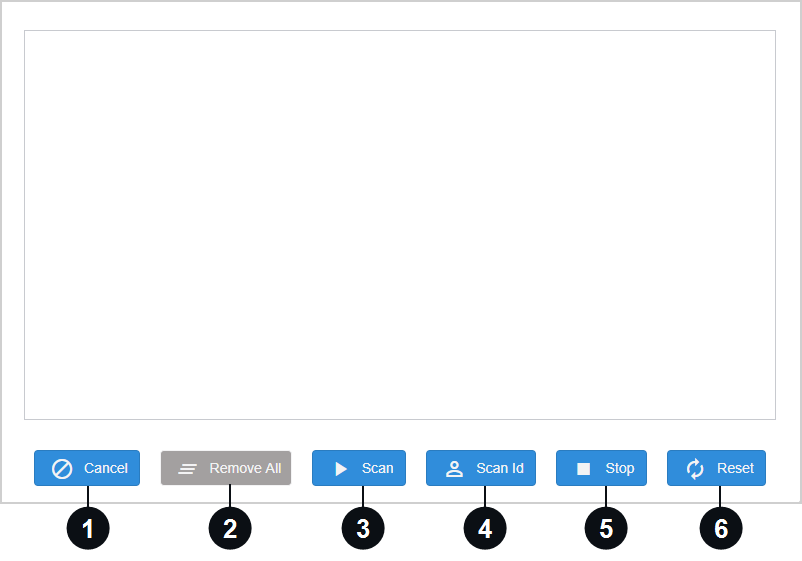
Scan documents (receipts, checks, forms of identification, etc.) from the Transactions page. On the transaction page, click Scanned Items. The scanning window is displayed.


|
Cancel | Click Cancel to exit the window when you are finished scanning or cancel scanning. You are returned to the transaction page. |

|
Remove All | Delete all items in the scan window. This button will be enabled after scanning at least one item. To delete a scanned item individually, click on the Delete icon corresponding to the document in the scan window. |

|
Scan | Start the scanner. Once checks are scanned, the images would be displayed in this window. Ranger scanners continuously scan checks (feed mode) until the scanner is reset, stopped, or canceled. Twain scanners scan checks one by one. When Scan or Scan ID is clicked, a Ranger icon will appear if using a Ranger scanner. For Twain scanners, no icon is displayed. |

|
Scan ID | Scan IDs using a scanner that supports this feature. If scanning IDs is not supported, the “Scan ID is not supported” message is displayed. When Scan or Scan ID is clicked, a Ranger icon will appear if using a Ranger scanner. For Twain scanners, no icon is displayed. |

|
Stop | Stop scanning. For Ranger scanners, clicking the Stop button will stop the Ranger application and the Ranger icon will disappear. When a Ranger scanner is running, the Stop Scanner menu item is added to the eReceipts Client system tray icon. The Stop Scanner menu item behaves the same way that the Stop button behaves in the scanning window. Stop: If a scanner is not stopped, it is not available to other applications. |

|
Reset |
Reset the scanner. For Ranger scanners, clicking Reset will stop scanning in feed mode. If you want to feed another check, click Scan again. If Reset is not clicked and Scan is clicked, any checks inserted in the scanner slots will be scanned continuously. Note: If a jam occurs, clear the jam, close the warning window, and click Reset in the eReceipts scanning window to continue scanning. |
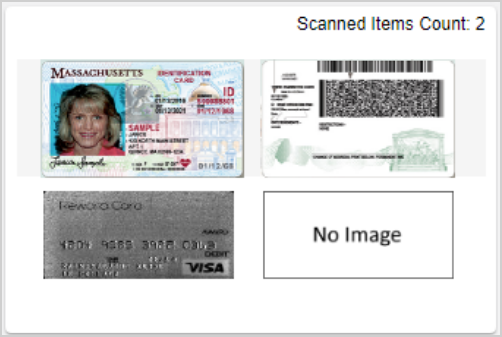
Once scanning is done, click anywhere outside the scan window or click Cancel. The images of the scanned items will be shown in the Scanning Items card on the transaction page. The number of items scanned is also displayed. Refer to Transactions for more details.
