IMM eTeller Check21
IMM eTeller Check21 (formerly known as "Teller Item Capture" and "TIC") is supported with eReceiptsCloud. When financial institution representatives scan deposited checks using eTeller Check21, the transaction data is collected and seamlessly uploaded in eReceiptsCloud. Refer to the following sections to enable, configure, and use eTeller Check21 with eReceipts.
Note: Bonds and offline transactions will be processed in non-integrated mode always. SBA transactions will be processed in non-integrated mode by default but can be configured for integrated mode by an administrator.
Note: Confirm that the check images are successfully loaded before an eTeller Check21 transaction is manually or automatically archived. If check images are not available, the transaction will be archived without the check images.
Once eTeller Check21 is configured in your environment, the feature must be enabled in eReceipts. After installing eTeller Check21, it is recommended for an administrator to enable and configure eTeller Check21 before use
If all workstations in the institution will have eTeller Check21 installed
Update the financial institution’s settings from the FI Settings option:
-
In the Admin Portal, click FI Settings.
-
Click the Scan tab.
-
Configure the scanner, select Enable eTeller CK21 Integration, and select the eTeller CK21 Mode: Integrated or Non-Integrated.
If only some workstations in the institution will have eTeller Check21 installed
Update the workstation settings from the Branches and Workstations option:
-
From the Administration menu or the main Admin Portal page, click Branches & Workstations.
-
Click the Workstations tab and open the desired workstation’s settings.
-
Click the Scan tab.
-
Configure the scanner, select Enable eTeller CK21 Integration, and select the eTeller CK21 Mode: Integrated or Non-Integrated.
Exit and restart
After the Admin Portal settings have been updated, exit the Admin Portal and restart the eReceipts client.
More information
Refer to Settings for more details about enabling eTeller Check21 on a workstation from the Teller Portal.
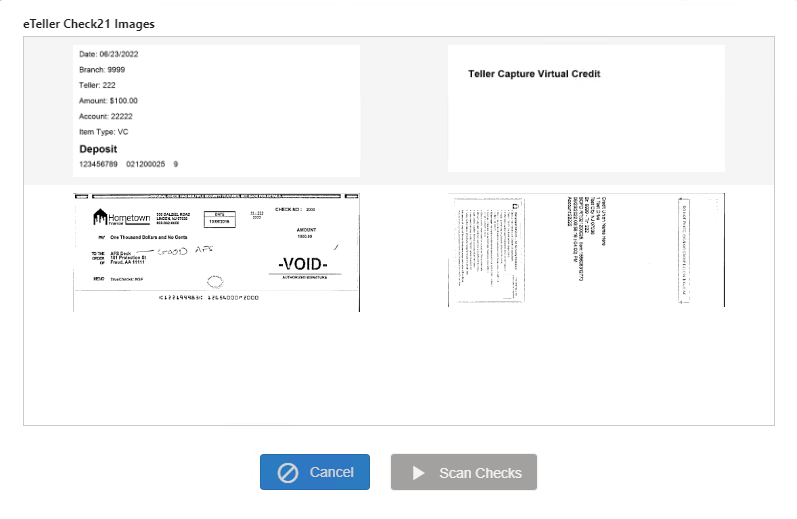
When eTeller Check21 is integrated, eTeller Check21 is launched and managed by the core/host system. After checks are scanned using eTeller Check21 and the transaction is posted, the check images and data are sent to eReceipts. In eReceipts, the transaction page loads after a transaction is posted. The check images are displayed in eTeller Check21 Images card. Refer to the following example of the eTeller Check21 Images card populated with scanned images.
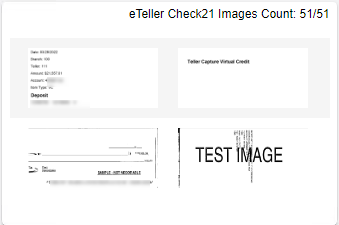
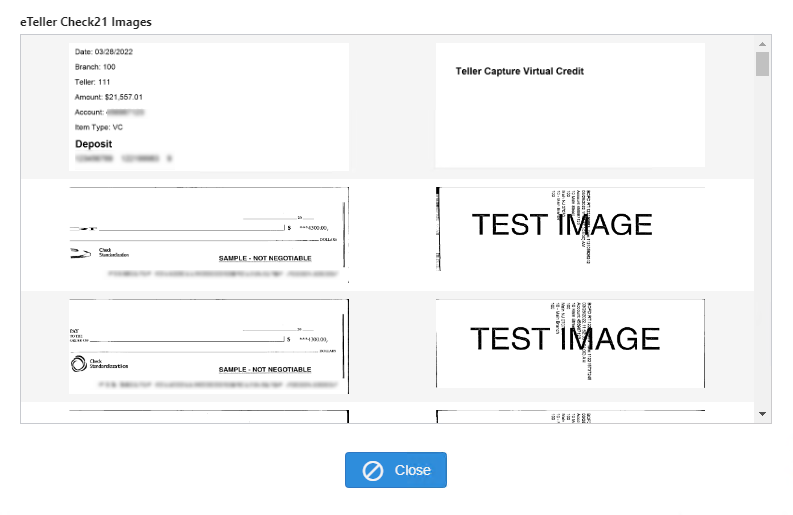
Click the eTeller Check21 Images card to open the eTeller Check21 Images window and view the check images. Click Close to exit the window.
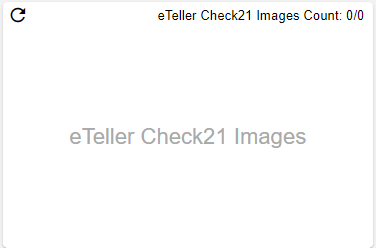
If scanned checks are not found, click the Refresh icon to try loading the check images again.
When eTeller Check21 is non-integrated, eTeller Check21 is launched when a Check 21 transaction is processed by eReceipts or by clicking the Scan Checks option on the eTeller Check21 Images card on the eReceipts transaction page. Bonds and offline transactions will be processed in non-integrated mode always. SBA transactions will be processed in non-integrated mode by default but can be configured for integrated mode by an administrator.
This is the typical flow of an eTeller Check21 transaction in non-integrated mode:
-
When a Check 21 transaction is processed by eReceipts, eTeller Check21 will pop up automatically before the eReceipts Teller Portal is launched. If the Teller Portal is already open, eTeller Check21 will open in front of the Teller Portal.
-
In eTeller Check21, scan Check 21 checks, and then click Done or Discard .
-
Done: Click Done to save the eTeller Check21 images. When Done is clicked, the eTeller Check21 transaction file is generated in the TellerCapture/WS/[workstation name]/TransmitFiles folder. The transaction is submitted to the SAF server. The eTeller Check21 window is closed and the transaction is launched in the eReceipts Teller Portal.
-
Discard: Click Discard to delete scanned check images or exit eTeller Check21 before scanning checks. The eTeller Check21 window is closed and the transaction is launched in the eReceipts Teller Portal without check images.
Note: If you clicked Discard in eTeller Check21, you will be able to scan Check 21 checks from the eTeller Check21 Images card on the transaction page in the eReceipts Teller Portal. You must stop the scanner before scanning checks using the Scan Checks button in the eTeller Check21 Images window.
-
-
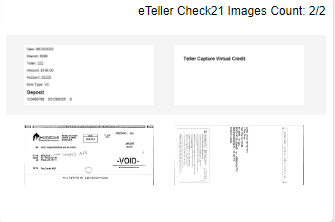
Preview the Check 21 images in the eTeller Check21 Images card on the transaction page of the eReceipts Teller Portal.
-
Click the eTeller Check21 Images card to view all Check 21 images.
If scanned check images were discarded in eTeller Check21 or no eTeller Check21 images are found, the Scan Checks button will be enabled to scan Check 21 check images. Click Cancel to close the eTeller Check21 Images window.
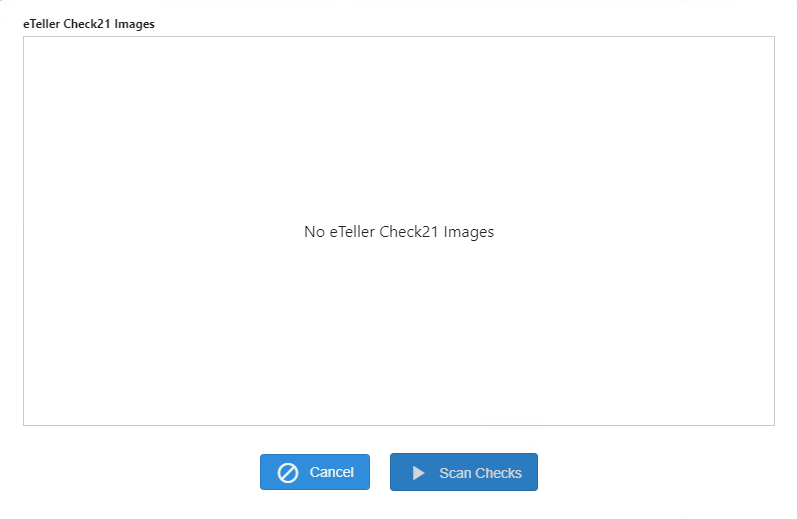
Note: If additional checks or items need to be scanned and the Scan Checks button is disabled, there is no way to add more checks or items to the transaction. The transaction must be reprocessed.
Note: If scanning issues occur when switching between the Scanned Items card and eTeller Check21 Images card, stop the scanner from the eReceipts Client menu before proceeding.
Offline transactions will be processed in non-integrated mode always. When eTeller Check21 is non-integrated, eTeller Check21 is launched when a Check 21 transaction is processed by eReceipts or by clicking the Scan Checks option on the eTeller Check21 Images card on the eReceipts transaction page.
This is the typical flow of an eTeller Check21 transaction when a transaction is created offline:
-
Create an offline transaction from the
 Offline Transaction option on the eReceipts Client system tray menu. Refer to Offline Transactions for details.
 -
Enter data. Data must be entered in the # of Checks and Checks Total fields for eTeller Check21 to launch after posting the offline transaction.
-
Click Post.
-
In eTeller Check21, scan Check 21 checks, and then click Done or Discard .
-
Done: Click Done to save the eTeller Check21 images. When Done is clicked, the eTeller Check21 transaction file is generated in the TellerCapture/WS/[workstation name]/TransmitFiles folder. The transaction is submitted to the SAF server. The eTeller Check21 window is closed and the transaction is launched in the eReceipts Teller Portal.
-
Discard: Click Discard to delete scanned check images or exit eTeller Check21 before scanning checks. The eTeller Check21 window is closed and the transaction is launched in the eReceipts Teller Portal without check images.
Note: If you clicked Discard in eTeller Check21, you will be able to scan Check 21 checks from the eTeller Check21 Images card on the transaction page in the eReceipts Teller Portal. You must stop the scanner before scanning checks using the Scan Checks button in the eTeller Check21 Images window.
-
-
Preview the Check 21 images in the eTeller Check21 Images card on the transaction page of the eReceipts Teller Portal.

-
Click the eTeller Check21 Images card to view all Check 21 images.

Note: If additional checks or items need to be scanned and the Scan Checks button is disabled, there is no way to add more checks or items to the transaction. The transaction must be reprocessed.
Note: If scanning issues occur when switching between the Scanned Items card and eTeller Check21 Images card, stop the scanner from the eReceipts Client menu before proceeding.